Vacuum Forming Design & Tooling Guide

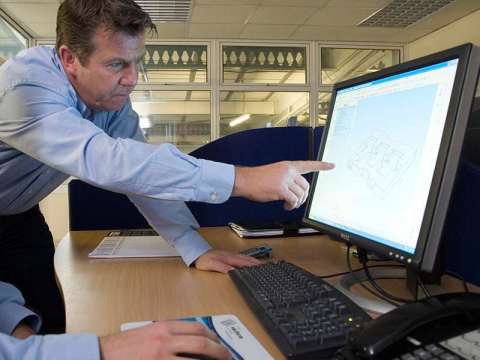
Here at the Vacform Group, we have over 50 years' experience in the production of plastic formed parts. We can undertake full design and manufacture of vaccum forming tools for your business requirements through our in-house design team, utilising the latest CAD and CAD/CAM software, saved in any desired industry standard format. Alternatively, we can work with your own tool or designs.
If you are designing your own tool, or outsourcing the design and/or manufacture to an external supplier, here are some things to consider when creating the best possible design and mould for your plastic work:
Draft angles
A draft angle on a vacuum forming tool or mould is the angle of taper that exists on a vertical sidewall (it’s near-impossible to form plastic over a completely vertical tool and remove the part without issue). When designing for vacuum formed processed parts, its imperative that the design has draft angles added to all sides of the tool to ensure an easy removal of the product from the mould once formed and cooled.
If you're forming with a male mould (ie a convex mould that the plastic sheet goes over to top of), add draft angles of at least 3 degrees. If you're forming into a female, concave mould (ie a mould that the plastic sheet is pushed into), add draft angles of at least 5 degrees.
As the depth or height of the tool increases, the greater the angle needs to be too. By ensuring the correct draft angles are incorporated into the design, costs can be kept down, as there should be fewer issues to rectify over the term of the work.
Undercuts
These are design features that project into or out from the surface of the mould. It’s best to try and avoid undercuts in your design if possible, but if these are a feature that’s essential, then sizes up to 15mm should be possible. It might also be a consideration to add an undercut to one end of the design whilst keeping an equal angle at the opposite end. This would aid removal of the part from the tool.
Draw Ratios
This refers to the relationship between the length/width of the part being formed and it’s overall height or depth. If designing a tool with tall features, try to position these apart from one another. Also, the taller or deeper the mould is, the thicker the sheet materials will need to be, which of course, will affect overall cost.
Use of Radii Corners
Rounded corners (instead of sharper, more angled ones) on your tool design can also aid cost reduction. Use of radii corners should ensure a better material distribution when forming the part.
Ribs and Bosses
These design touches are built into a tool to add strength and rigidity over flat surfaces and sides. These can be built into the tool at the time of design, or potentially added after the tool has been created and fixed on with adhesive.
Texture
Texture on a finished part can be gained by wither using a pre-textured plastic sheet for forming purposes, or adding to the overall tool design. This second option can add cost to the making of the mould and increased draft angles are usually required too.
Tool Materials
Many different materials can be used to create your tool. The one you select will depend on different criteria such as budget, length of the production run, type of finish required etc. Here are the most popular tooling types:
- Wood/MDF – Best used for smaller production runs, wood and MDF can be used to create moulds at speed. These types of moulds will wear out quicker than cast ones and marks from the joints may be visible on the formed plastic, so proceed with caution. A relatively cheap material though that is easy to construct.
- Cast/moulded tool – this type of tool can vary from fairly fragile Plaster of Paris, to fibre–glass, through to resin casts. This latter material is reasonably durable and can be finished and sanded to a very smooth finish. They are also relatively quick to create and cost effective.
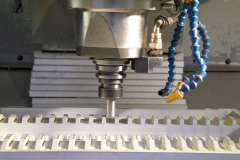
- Aluminium – Although this might be the most expensive type of tool, an aluminium version remains strong and true and can be used for runs into the hundreds of thousands of units. It combines excellent heat conduction with good surface hardness and low wear. To get a mark-free finish, the aluminium requires a certain amount of work. Aluminium tools can be cast, 3D modeled and machined or a combination of both, where the tool is cast and then finished to the level required on a CNC machine.
The team at Vacform can help you with your tool design or even take on the complete process for you with our in-house design experts. Contact us today for more guidance or assistance with your project.


